
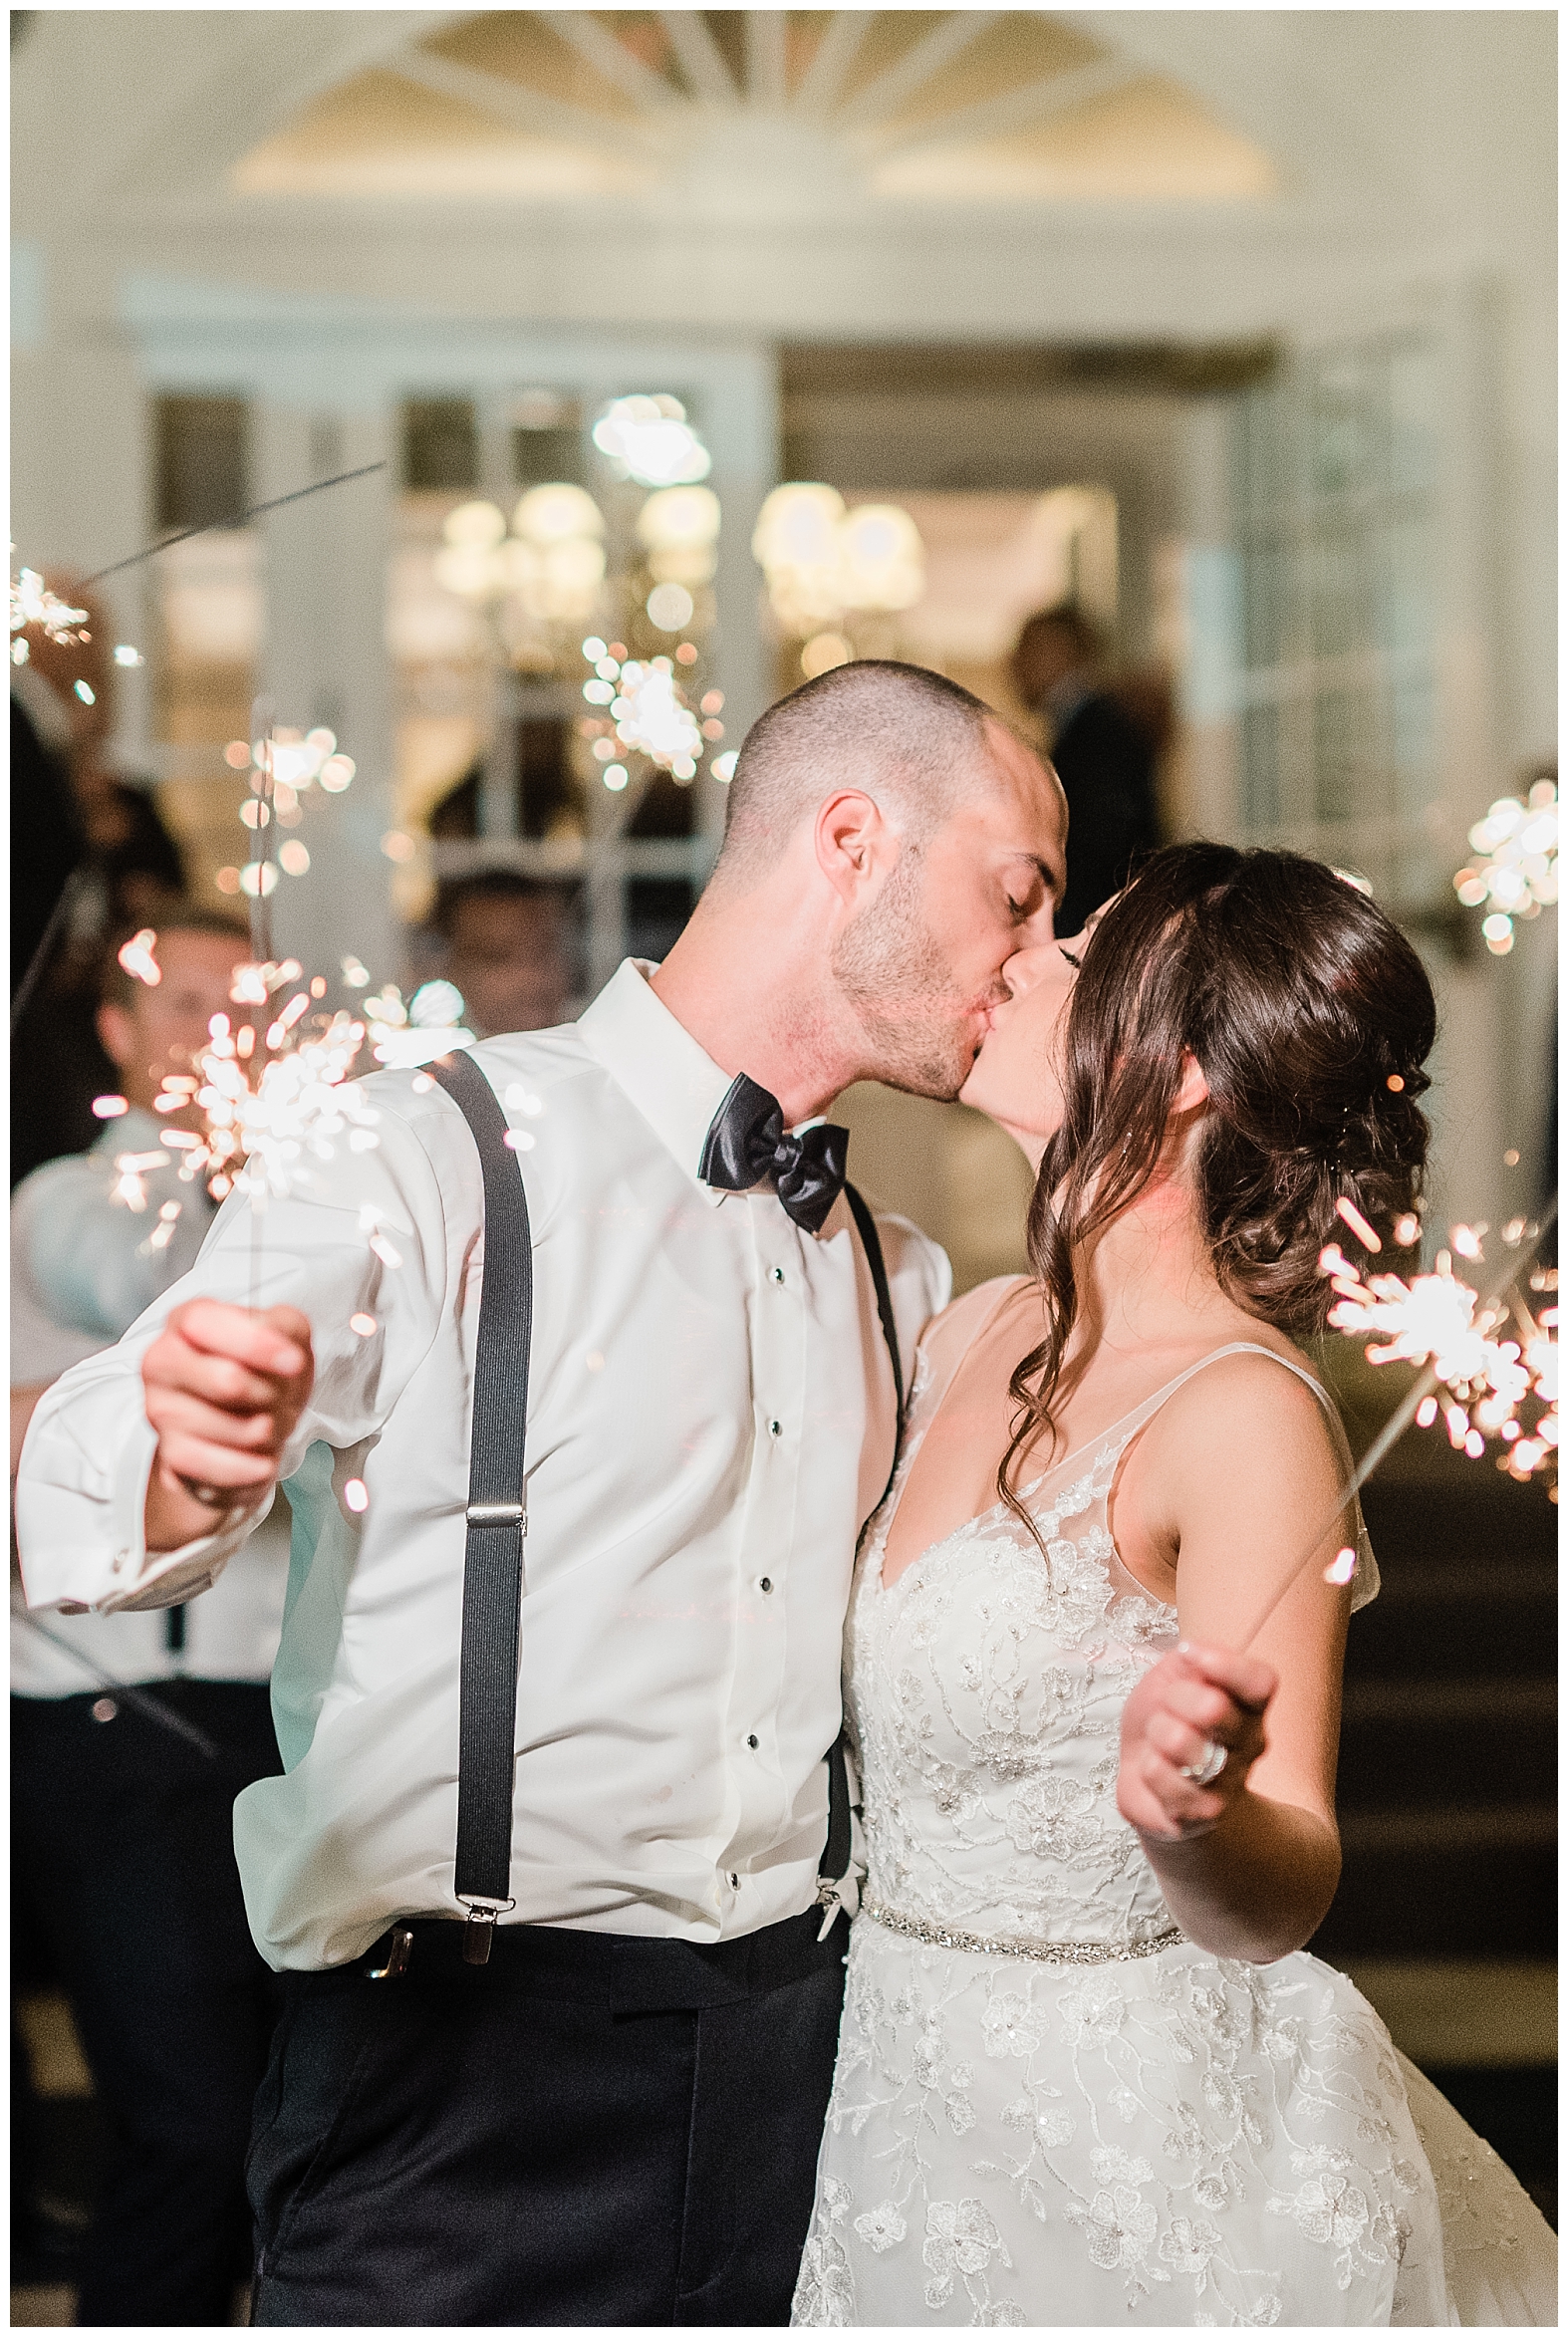
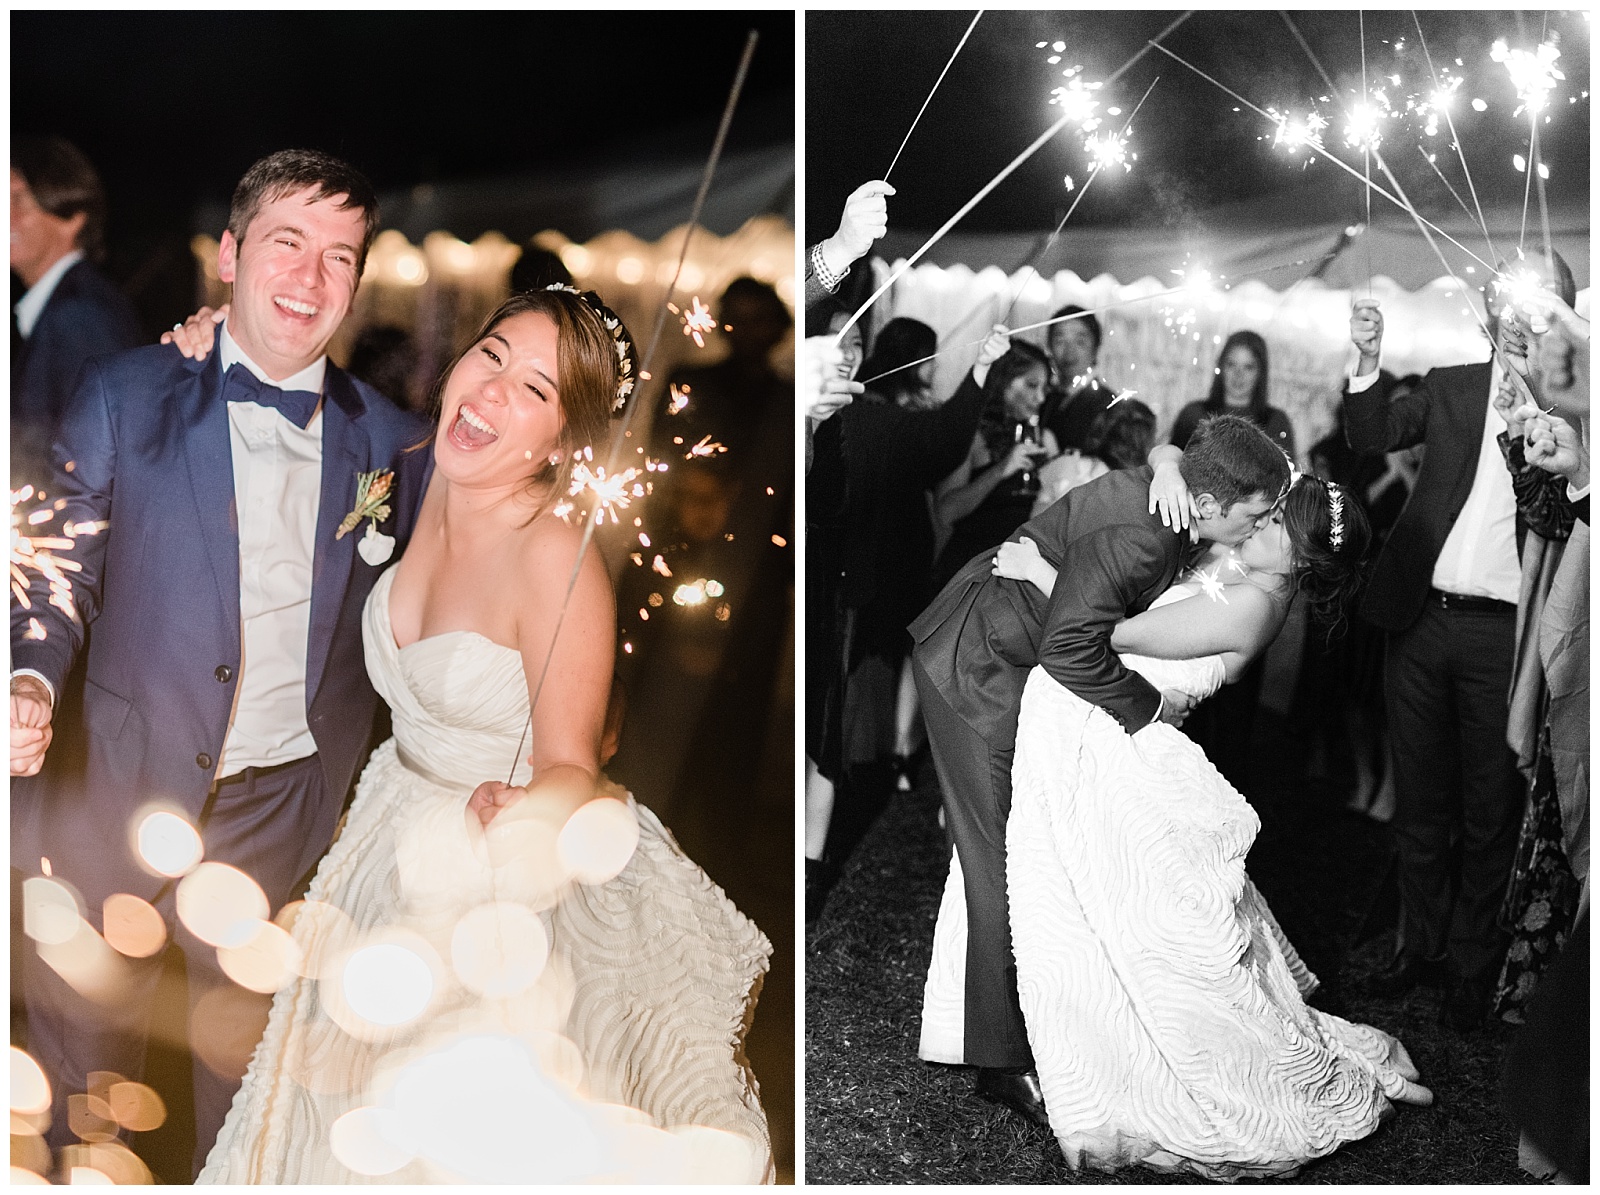
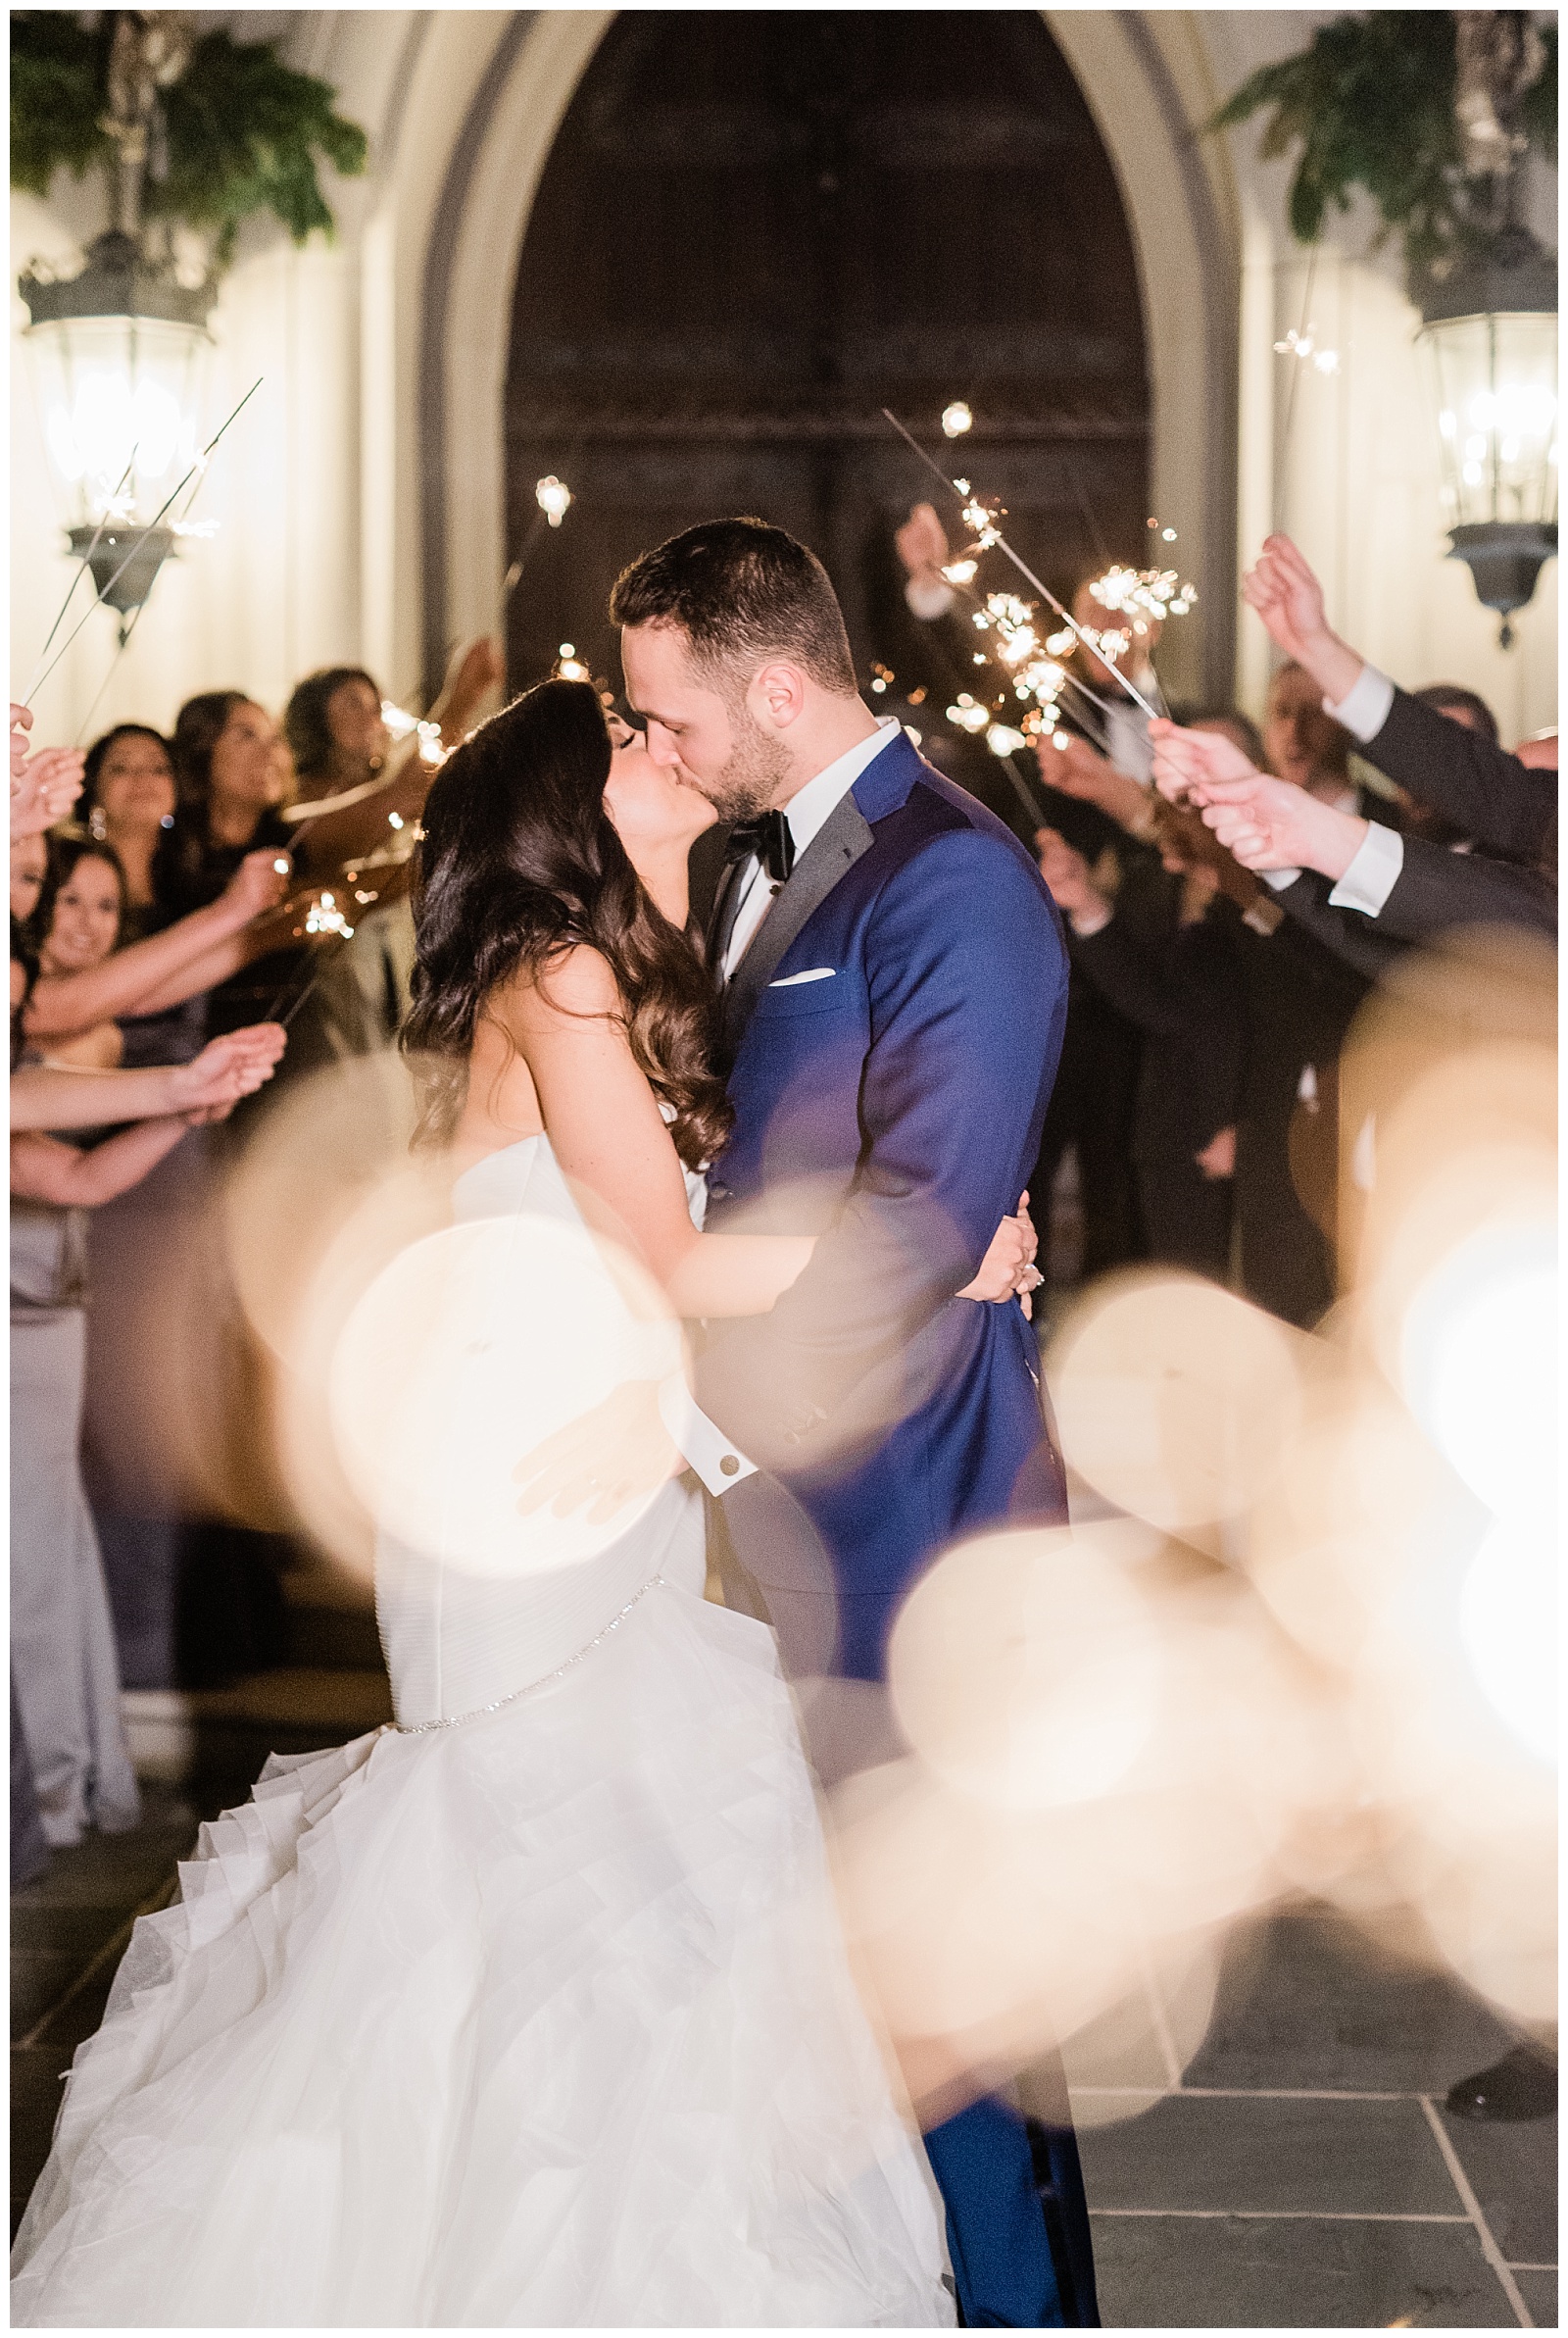
Photographers, I don’t know about you, but I, for one, LOVE sparkler exits!!! I think they’re such a fun and festive way to close out the wedding day, and send off the newly weds into married life! 🙂 It’s the perfect grand finale to a day of celebration! But sparkler exits can be stressful to photograph when you don’t have a solid game plan! If you find yourself struggling with sparkler exit photos, this post is for you! I’m sharing 5 tips to help you up your sparkler exit game, and have fun capturing some awesome photos! Let’s get to it!!
1. Location, location, location.
When choosing the location to set up the sparkler exit, try looking for a spot that has some ambient light! When you have other light sources in the frame, it will add more dimension and atmosphere to your photos, than a location with only darkness in the background! Try lining up the venue in the background, or setting up in a lighted porch or car park (like the photo above) if the venue has one! Or any other area that has some ambient lighting!
2. Maximize your time!
Sparklers can burn super quick! Prior to the wedding day, talking with your couple and making sure that they purchase EXTRA LONG sparklers is so important! That way the sparklers will have an extended burn time, to give you plenty of opportunity for shooting! When setting up for the sparkler exit, make sure you have everyone in place BEFORE lighting the sparklers! If you start lighting the sparklers before everyone is set up, you risk having some of the sparklers burnt out too quickly! Lighting them all as close to the same time as possible is key! And when your couple comes through the sparkler exit tunnel, tell them to take it slow! Especially when working with extra long sparklers, they can walk through a couple of times, and maybe try a couple other poses too!
3. Play with foreground.
Using foreground elements is a simple way to elevate your sparkler photos and add lots of visual interest! When they are passing out sparklers, if they have extras, snag one or two for yourself to use as your foreground. After lighting your sparkler, you can hold it in front of your camera to add some fun sparkler bokeh glow! Sometimes I hold the foreground sparkler myself, and shoot with one hand, but if I want to use two foreground sparklers, I’ll have my assistant hold the second one for me! (This might be obvious, but just in case, just thought I should mention, be careful not to bring the sparkler *too* close to your camera lens, to be safe!)
4. Use an LED light source!
When photographing sparkler exits, I love to use my LED light stick, as opposed to a flash! My LED light (that I lovingly call my light saber), is so great for a lot of reasons!
- It has multiple power/brightness settings, and can put off a LOT of light if you need it to! (I’ve been able to use this one light to light up an entire bridal party for a night portrait!)
- It’s so EASY! I find it super helpful that when working with an LED light, that I’m seeing in real time, and real life what my lighting is looking like! This is especially clutch when working in a fast-paced way, like you do with sparklers.
- My light saber also allows me to choose either a cooler temperature light or a warmer light with the click of a button! I always use the warm light for sparkler send offs, because it is a similar temperature to the warmth of the glow you get from sparklers! When using a flash it’s a much cooler temperature light (unless you gel your flash).
- I also love that the LED light is a softer light compared to using flash. When you have ambient light in your frame too, the light from the LED stick feels more natural and almost as if it’s a part of the existing light in the environment! The lighting with a flash can also feel a little more harsh, especially because there usually isn’t somewhere to bounce your on-camera flash over your shoulder to soften the light. The light saber is much warmer, and natural feeling, so it creates a look that I love!
To use the LED light for a sparkler exit, I have my assistant stand to one side of me, holding the light stick vertically, pointed towards the couple/sparkler exit set up!
I use my light saber for other things during a wedding day too! It’s great for night portraits in general, and also indoor portraits when flash doesn’t have somewhere to bounce cleanly, etc.! I’ve had this light for a few years now and I would HIGHLY recommend it!!! You can get your own light saber here: https://amzn.to/2UQWxbD (<– Amazon affiliate link)

5. Get a variety of shots!
You can up your sparkler exit game by getting more variety during sparkler exits! I do this by having my couple go through the sparklers a few times. The first time I don’t give much instruction, I just let them enjoy it! Then I’ll have them try something a little different, maybe holding hands or looking at each other, and I’ll reiterate to them to come through the sparklers slowly. And then if we have more burn time left, I’ll have them go back in the middle of the sparkler tunnel for a slow dance twirl or a kiss, etc. After my couples enjoy their few strolls through a golden sparkler tunnel, I love to borrow sparklers from nearby guests (or light fresh ones if need be) and have the newlyweds hold their own sparklers for a few extra fun shots! 🙂 Sparklers burn quick so having a game plan in mind before the sparklers are lit will help you maximize sparkler time, and get a variety of great shots!!
I hope these tips help you crush it at your next sparkler send off! If you have any sparkler questions I can answer or help you with, please feel free to comment below! I’m here to help!
And if you liked this post, you might also like this one: “5 Ways Styled Shoots Can Help Build Your Photography Business”


What in interesting point on the color temperature of flash and having to gel them; I’ve never thought of that! Did you go through a few lights before you decided that LED was the best option for you? And how much total time would you say you’ve had on average to direct the couple before the sparklers have died out? 30 seconds? One minute? Two minutes?
I have used flash before, but wasn’t crazy about it! This was the first LED light I bought, and LOVED it!!!!! I like that it has multiple temperature options, brightness controls, etc. so it works really well for me! I would say on average I have about a minute to a minute and a half of directing them with sparklers lit! I give them some direction pre-lighting, but there’s typically about a minute to a minute and a half of sparkle time with the extra long sparklers and a smaller sized group (bridal party only vs. entire wedding – the longer it takes to light everyone’s sparklers the less lit time to shoot you’ll have!) I hope that helps!!! Let me know if I can answer anything else!! 🙂