
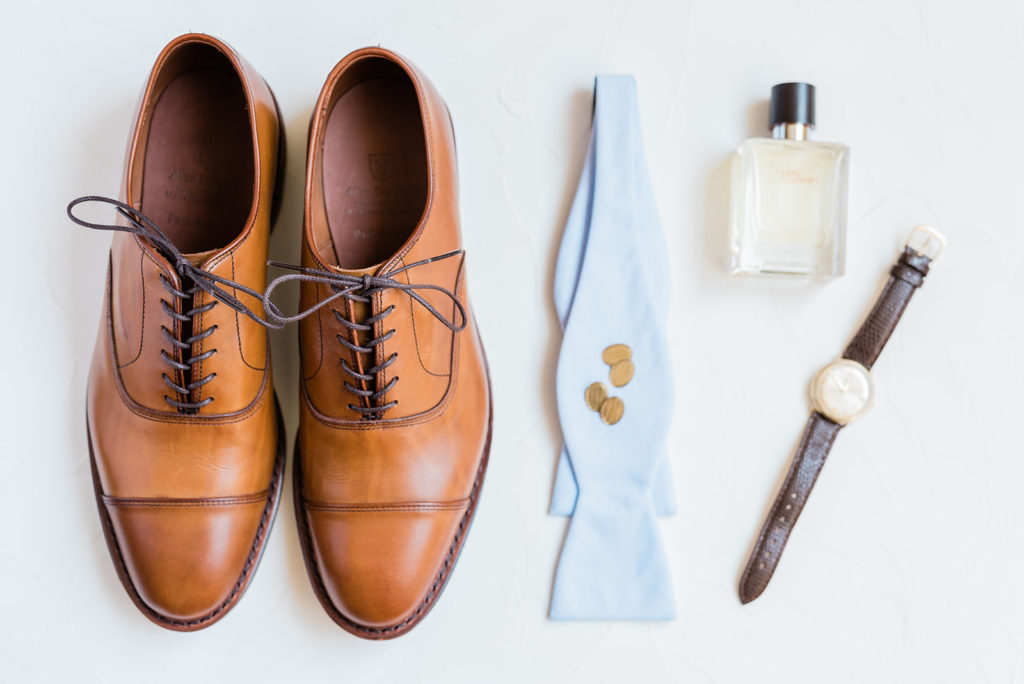
Wedding day details are important for both the bride AND groom. Groom details especially tend to get overlooked, but I firmly believe they’re equally as important! (To read more about the significance of groom details, you can check out this blog post!) As wedding photographers it’s important to capture all the details beautifully for our clients. Couples spend a lot of time during the planning process making decisions and carefully choosing all the little pieces that will come together to make their wedding day uniquely special to them. It’s our job to document it and preserve the memories of their day, and all the planning behind it!
While my first instinct is to try to use elements from the venue, and all the items my brides and grooms pick out, sometimes there just isn’t quite enough to work with! Maybe they’re getting ready off site, or didn’t have time to find extra styling elements like they planned. But regardless of the situation, my clients still expect me to deliver on capturing great detail shots! In order to make sure I can make that happen no matter what, I’ve put together a wedding day styling kit I always bring with me! I usually only need a couple pieces from my styling kit at a time, but having those pieces always comes in clutch!
In case this post helps you build your own styling kit, throughout this post I’m sharing links to all of the items that I have in my kit. Some of these links are affiliate links!
TLDR: Check out my Amazon List with my styling kit must haves!
My handy wedding day
styling kit includes:
Styling surfaces!
I have styling surfaces in a few different neutral colors! Some of my faves are from JRD Artshop!! They’re a great size, and I have them in several colors! They’re all relatively neutral colors, so when I don’t have a simple or neutral backdrop to work with at the getting ready location, I’ll bring out one of my surfaces that best fits with the colors/vibe of the day! (In my pre-wedding day questionnaire I always ask about wedding color scheme to make sure I choose something that fits with my couples’ vision!)
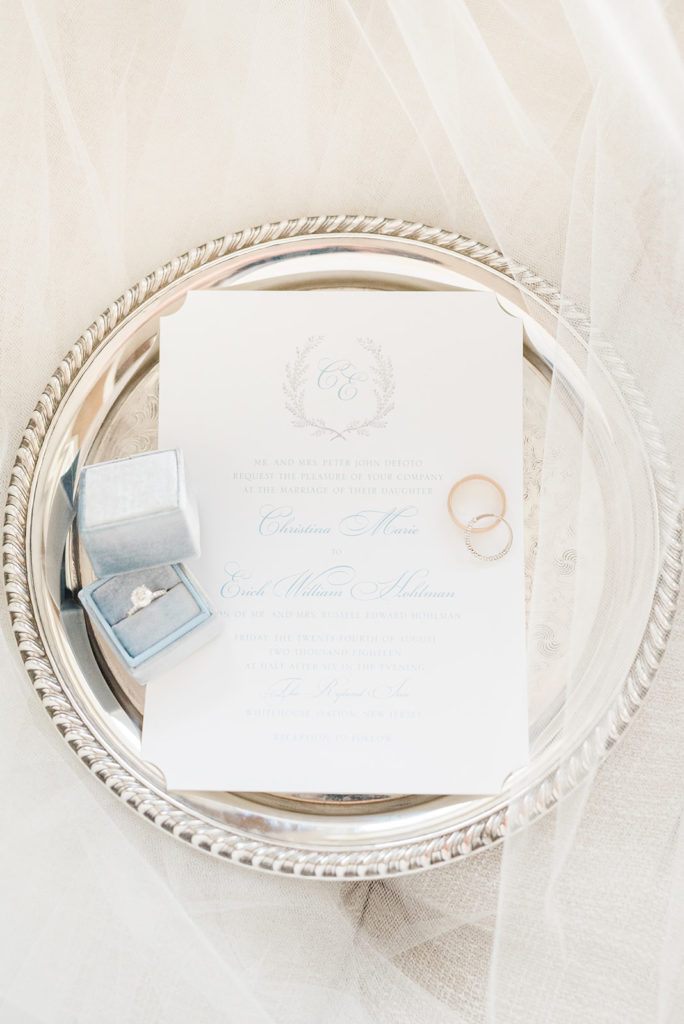
A set of small acrylic blocks.
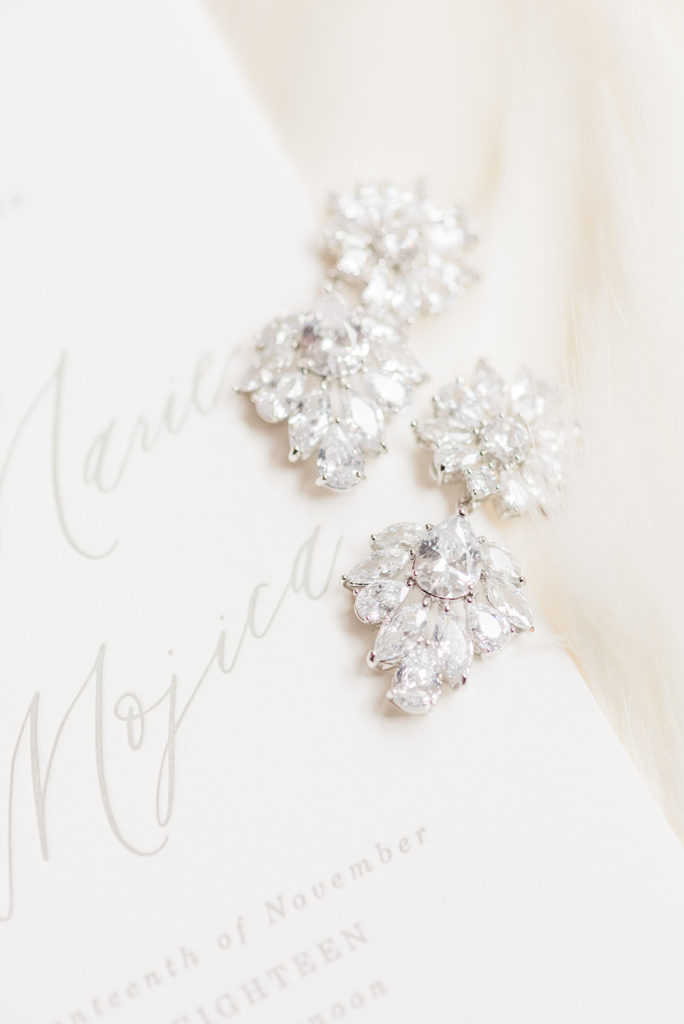
These little acrylic blocks come in SUPER hand for styling paper details like invitation suites. Being able to prop up different pieces of the suite helps to create some added visual interest in styling. It also is super helpful if you are working on a surface that isn’t super flat. For example I recently was using one of my styling surfaces on top of a bed. Because the styling surfaces roll up to be portable, they don’t act as a flat board, so the details were not sitting entirely flat on the styling surface resting on a soft bed. Having the acrylic blocks there, allowed me to still style the invitation suite with precision, even though my working surface wasn’t completely flat and even. I’d highly recommend having these on hand!
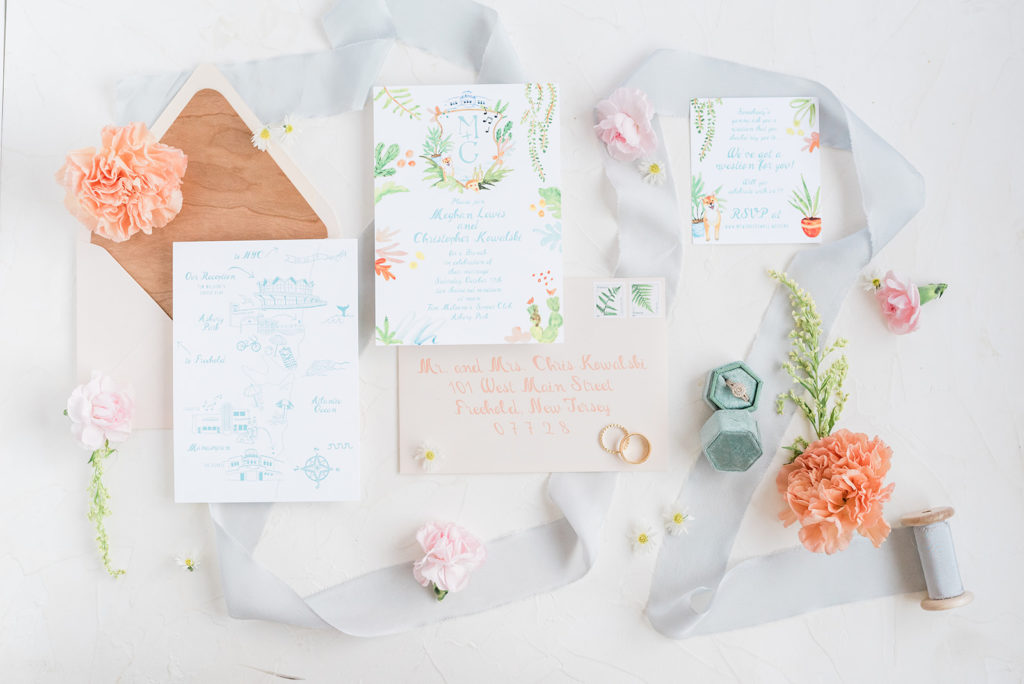
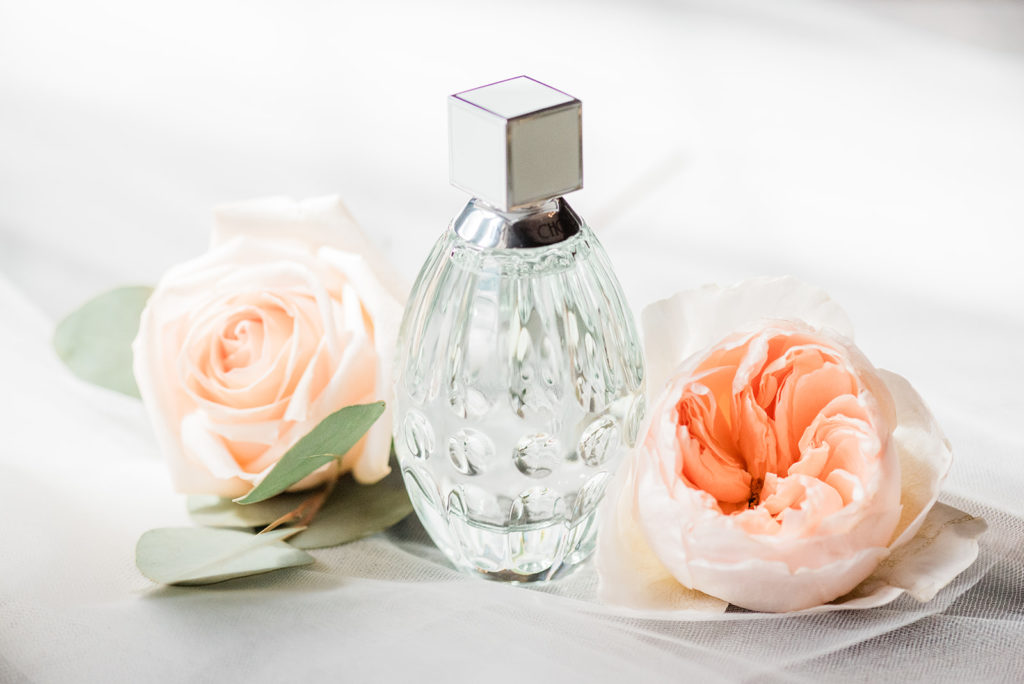
Loose fabric.
I keep a few different rolls of fabric in my styling kit. They all have different textures and colors for variety and different looks, but they are all still very neutral in tone. I don’t want to have anything that makes too strong of a visual statement. I want items in my styling kit to enhance the look my couples have crafted, not make a new look all together.
I have a pink chiffon fabric that is actually a table runner! It’s from Bellame Ribbon Co. and I’m obsessed with it! A lot of companies that sell ribbon may have table runners too! They make for great styling fabrics! I also have some more tulle-like pieces that I bought from JoAnn Fabrics, and a roll of cheese cloth that I got from Amazon!
Pretty spools of ribbon.
Ribbon is such as easy way to elevate the look of details! I carry a handful of different size, material, and color ribbons! Again, going for a neutral color palette & colors I see often (cream, blush, dusty blue, mauve, etc.) I have ribbon from several places, like Bellame Ribbon Co., Stella Wolfe, & Silk & Bramble. They’re all awesome and have great selection for ribbon (and some runners like I mentioned above).
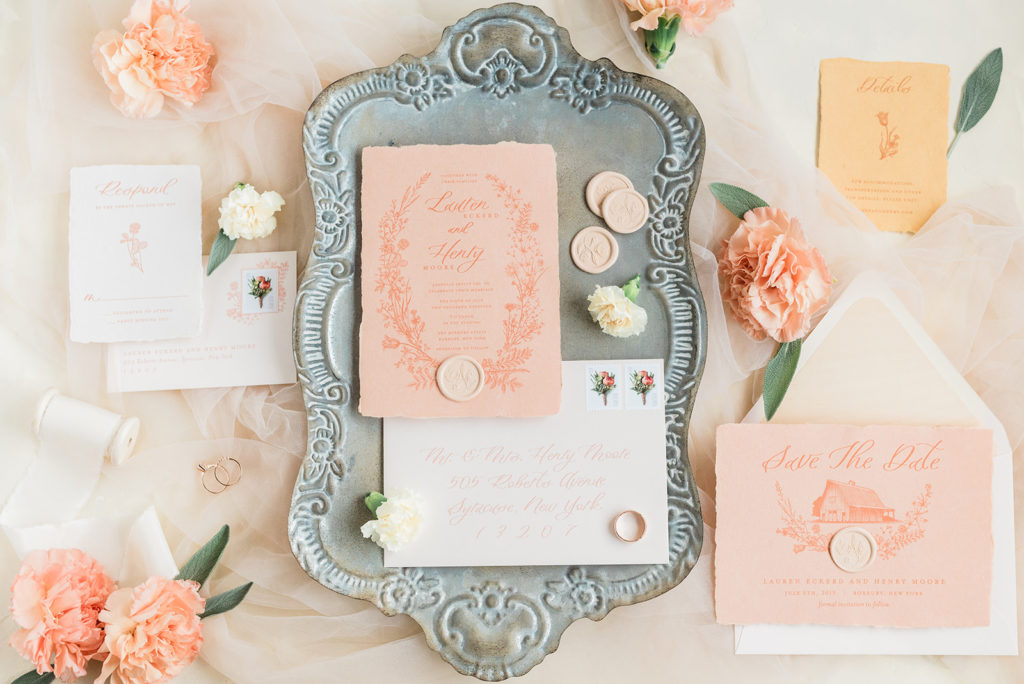
Various trays!
I’ve got several different trays that I love to sometimes use to accent details! I have a few different sizes, colors, materials, etc. but all are relatively neutral in style! A lot of my favorites have been Goodwill or thrift store finds! Browsing your local thrift store is a great place to start to find unique and inexpensive trays! I also have this one from Amazon! You can find lots of different options – get creative with it! 🙂
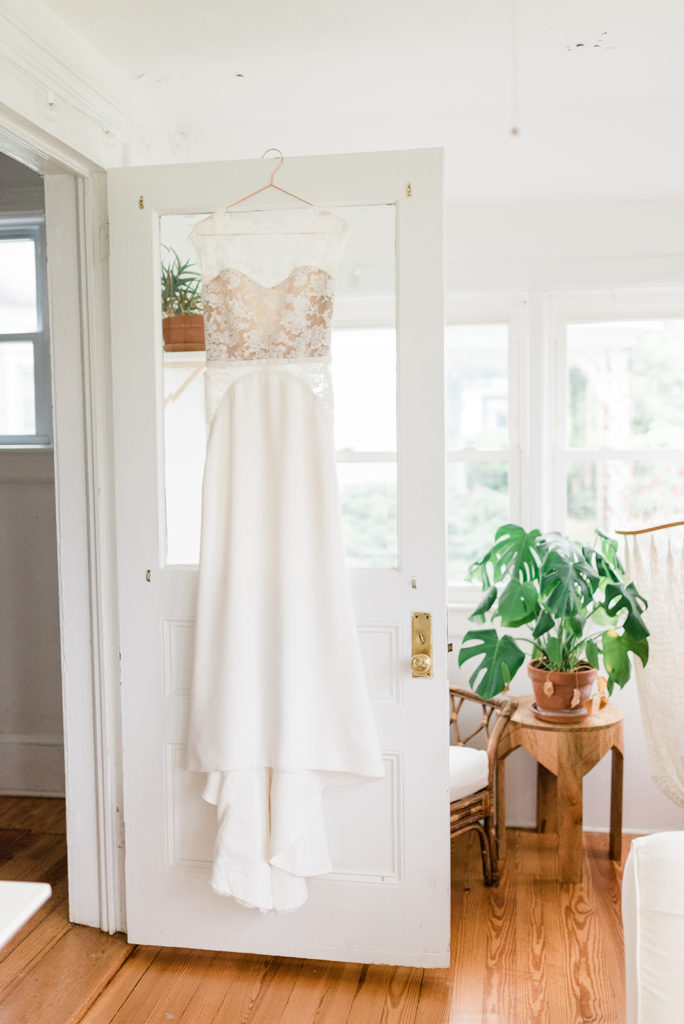
Nice looking hangers for the dress.
Just in case the bride doesn’t bring her own special hanger, I always carry a few nice hangers with me. A lot of the time, the wedding dress comes on a plastic hanger with a cardboard bust stuffed into it, which doesn’t make for the best photos. I always bring these BHLDN hangers in gold and silver as options! BHLDN has some other pretty hangers too! I also usually bring a wooden hanger like these simple ones. I usually will choose whichever one best fits with the bride’s style/style of the day!
Reflectors.
I use my reflector all. the. time. It is super helpful to balance out window light to get an even lighting style. It’s also come in handy blocking out secondary light from another source. For example if there is a light on in the hotel room that can’t be turned off, if I set up near the window without the reflector I may still get some color cast from the incandescent light. But if I set up a reflector, that can also help blocking out that extraneous light!
A reach hook.
This nifty little tool comes in SO handy for hanging the dress in places that are tough to reach. Sometimes a step stool doesn’t quite cut it, or there are no chairs to stand on. Having one of these reach hooks in your styling kit makes life so much easier. (for hanging the dress in higher spots)
A kneeling pad!
I LOVE this thing. I used to always be in so much pain kneeling down on hard floors to style my detail sets, and it was so uncomfortable. I bought this kneeling pad in attempts to save my knees when shooting details, and boy has it come in handy. I would recommend this a million times over.
The best bag to carry it all!!
I finally found the most perfect bag to keep my detail kit organized and mobile, and it is PERFECTION! It has tons of organizational pockets, it’s big enough to fit everything, and it’s on wheels! I love this bag so much and it has made transporting my details so much easier!!
Advice for choosing items to add to your kit!
When choosing new items to add to my styling kit, I always try to keep in mind that I don’t want my additions to dictate the style of the details, but more so blend with what the bride and groom have already chosen, and elevate the style they are already going for. Getting to know your ideal clients and their style is helpful to do this successfully. For my clients, my general rule of thumb is choosing a neutral palette of ribbons, fabrics, and styling surfaces to work with. My clients lean towards a higher end look so adding in vintage metallic or ceramic trays, or delicate fabrics, etc. tend to blend well with my couples’ styles. As an example, most of my couples choose more neutral colors for their day, so I wouldn’t want to bring in hot pink ribbon, or a dark black tray, since that’s more of a statement kind of piece rather than a neutral accent.
Starting to incorporate some simple items to level up your wedding day details, in turn inspires your couples to get creative with their own extra elements! So many of my brides have started bringing their own unique ribbon, trays, or fabric for me to use when styling their details!
I hope this post was helpful! Share with me! Do you use a styling kit? If so what’s your favorite piece or tool in your styling kit? I’d love to hear your thoughts! Happy shooting! 🙂 xoxo


This is sooo helpful!!!! Love that you choose styling details that blend in with their style instead of trying to make it something totally different! Thank you for sharing all these links! 🤗
[…] My Detail Styling Kit […]
[…] Want some more detail tips? Check out what’s in my detail styling kit on a wedding day, HERE! […]
[…] My Detail Styling Kit […]